Answer
Please review the content below as it may contain the information needed to resolve your issue.

If additional assistance is needed with Customer Portal issues, please reach out to your Tableau Account Representative or customerservice@tableau.com for the best possible support.
New Customer Purchasing a Creator for Individual or Personal Use
If you are a new customer that recently purchased the Tableau Creator, you have been assigned a Tableau Cloud site which will be used to activate the Tableau Desktop or Prep software. Please review the end-to-end steps to identify the Tableau Cloud activation email and get you started. There is also a helpful KB if having trouble finding your email to get you started.
As a Tableau Cloud customer, you will be given a Tableau Customer Portal account in order to view your invoice, add additional purchases, contact Tableau Technical Support, and activate Tableau Desktop or Tableau Prep Builder using the Login-base License Management option. If Elearning was purchased, the code or key will appear under the Licenses tab of the Tableau Customer Portal.
New Tableau Cloud purchases for individuals and personal use will not need to manage users in the Tableau Customer Portal. As a Tableau Cloud customer, use the new Salesforce experience when opening a Technical Support case without adding users to the Tableau Customer Portal.
Using Login-based License Management
If you are using Login-base License Management, there will be no need to view or assign Desktop or Prep product keys to individual users. Assign users the Creator role on Tableau Server or Tableau Cloud and review the pre-built Administrative views on Login-based License Management to manage activations and use of Tableau Desktop or Prep.
Product Keys in Use for On-Premise Deployments
If your organization is using legacy product keys to activate Tableau Desktop or Tableau Prep Builder, you will continue to manage licenses via the Tableau Customer Portal in order to assign product keys to specific users. Adding users as described below, will allow these individuals based on permissions granted, to create and manage support cases on the Salesforce Help portal, view invoices, manage accounts, and assign or view Tableau Server license information.
Adding Users to Create/Manage Support Cases
For on-premise deployments, it will be necessary to add users to the Tableau Customer Portal to create cases in the updated support experience on the Salesforce Help portal. Tableau Cloud customers do not need to add users to the Tableau Customer Portal in order to create a Support case in the new Salesforce Support Experience. Please see the Additional Information section on all the roles available when creating a user in the Tableau Customer Portal.
Note: In order to manage users in the Tableau Customer Portal, you must be assigned the Administrator role.
Add a user and set permissions
- Go to the Customer Portal and sign in with your Tableau username and password.
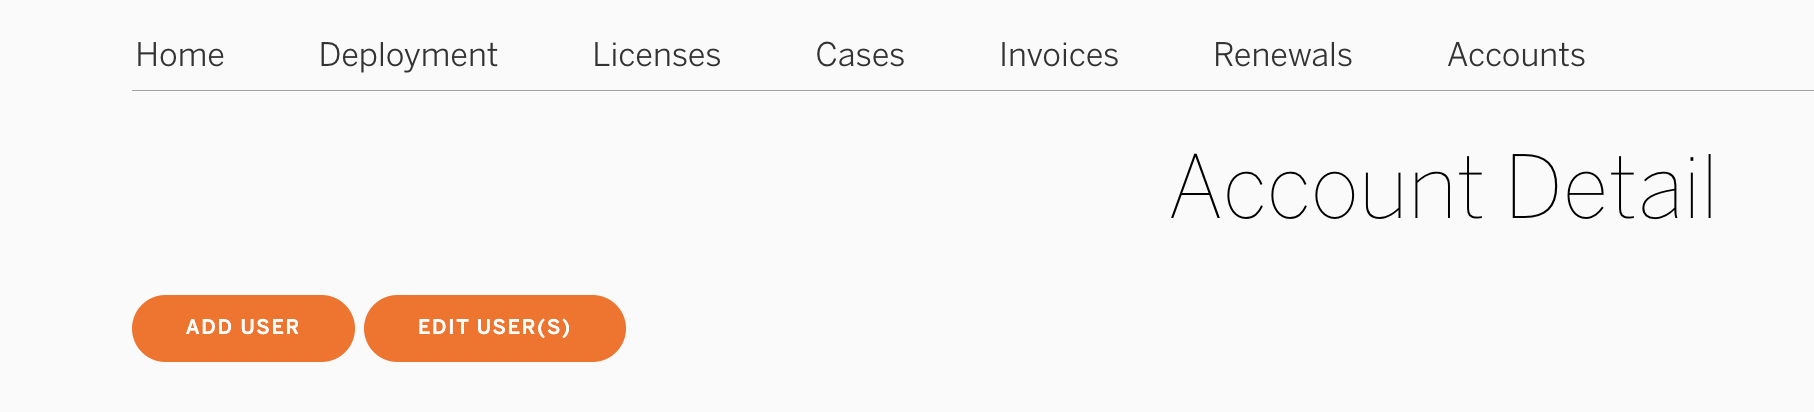
- On the Customer Portal home page, click Accounts and select a specific Account to go to the Account Detail page.
Note: If you are an administrator for multiple accounts, select the account you want to manage.
- From the Account Detail page, click Add User.
- Type the user's first name, last name, and email address.
- Select the role and permissions you want to assign to the user. For role and permission descriptions, see the Additional Information section of this article or hover over the "?" next to each permission.
- When you are finished, click Add User.
Edit a user's permission
Please note: It is not possible to edit the user's email address but only their permissions. A user will need to be removed and then re-added to change the email.
- From the Account Detail page, select the Portal Account User(s) whose role you want to change.
- Click the Edit User(s) button.
- Adjust the user's permission as desired, then click Edit User(s).
Remove a User
- From the Account Detail page, select the Portal Account User(s) who you want to remove.
- Click the Remove User(s) button on the right side of the page.
3. Confirm that the users selected should be removed from the Tableau Customer Portal.
